SKU: OT2371-B13 Numer artykułu: NA330 EAN: 8321317104642

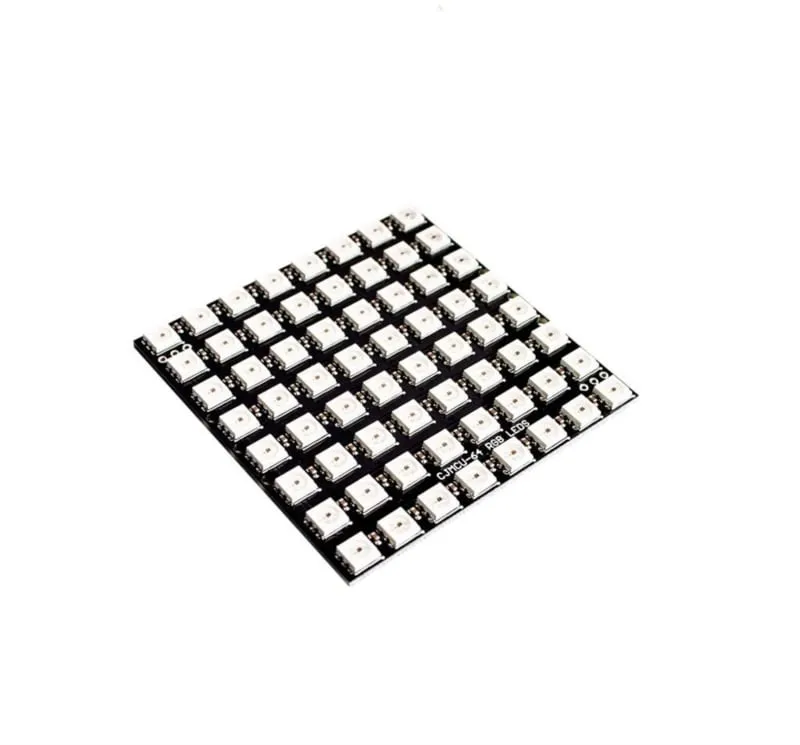
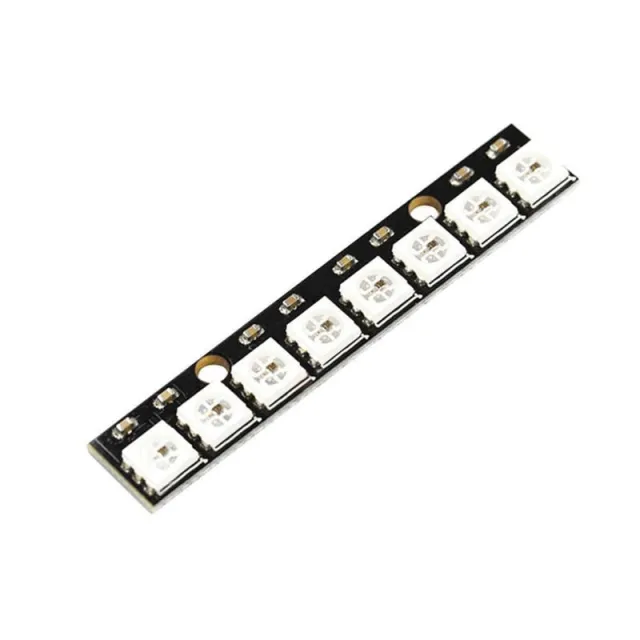
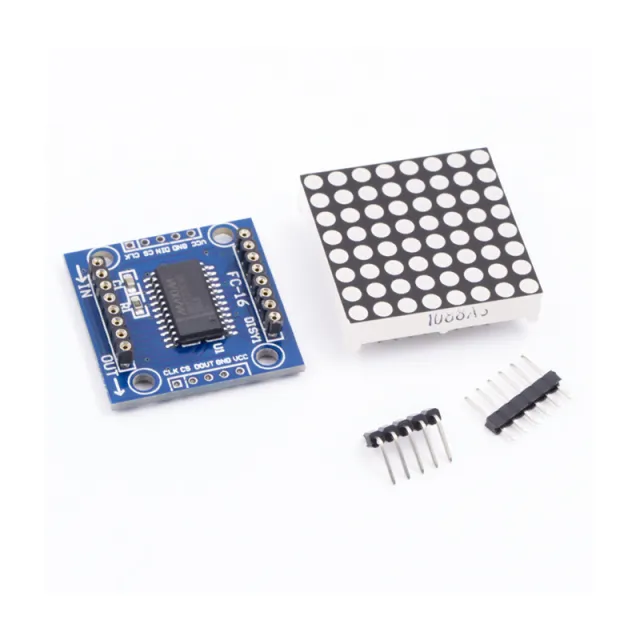
RGB LED Matrix z 64 adresowalnymi diodami WS2812b.
Działa na 5V i może być sterowana przez Arduino, ESP8266 oraz ESP32.
Wymiary
Długość: 6,5cm
Szerokość: 6,5cm
Wysokość: 0,3cm
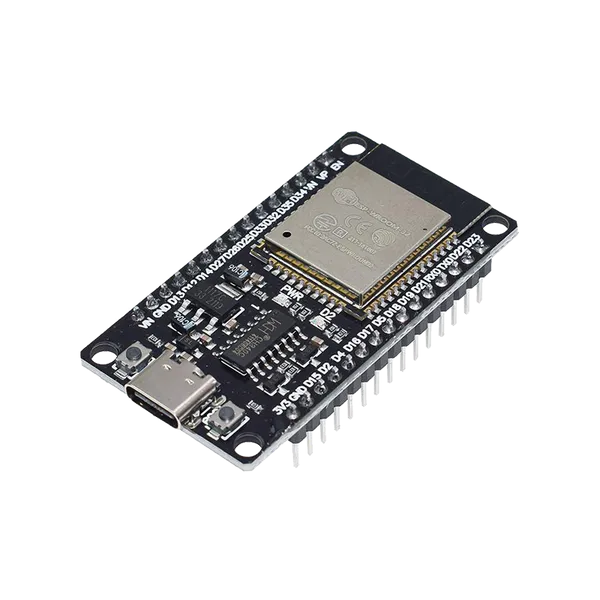
Tak podłączysz 8x8 RGB 64 LED Matrix 5V WS2812b do Arduino UNO lub ESP32, z przykładowym szkicem, który możesz od razu wgrać.
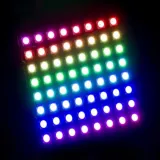
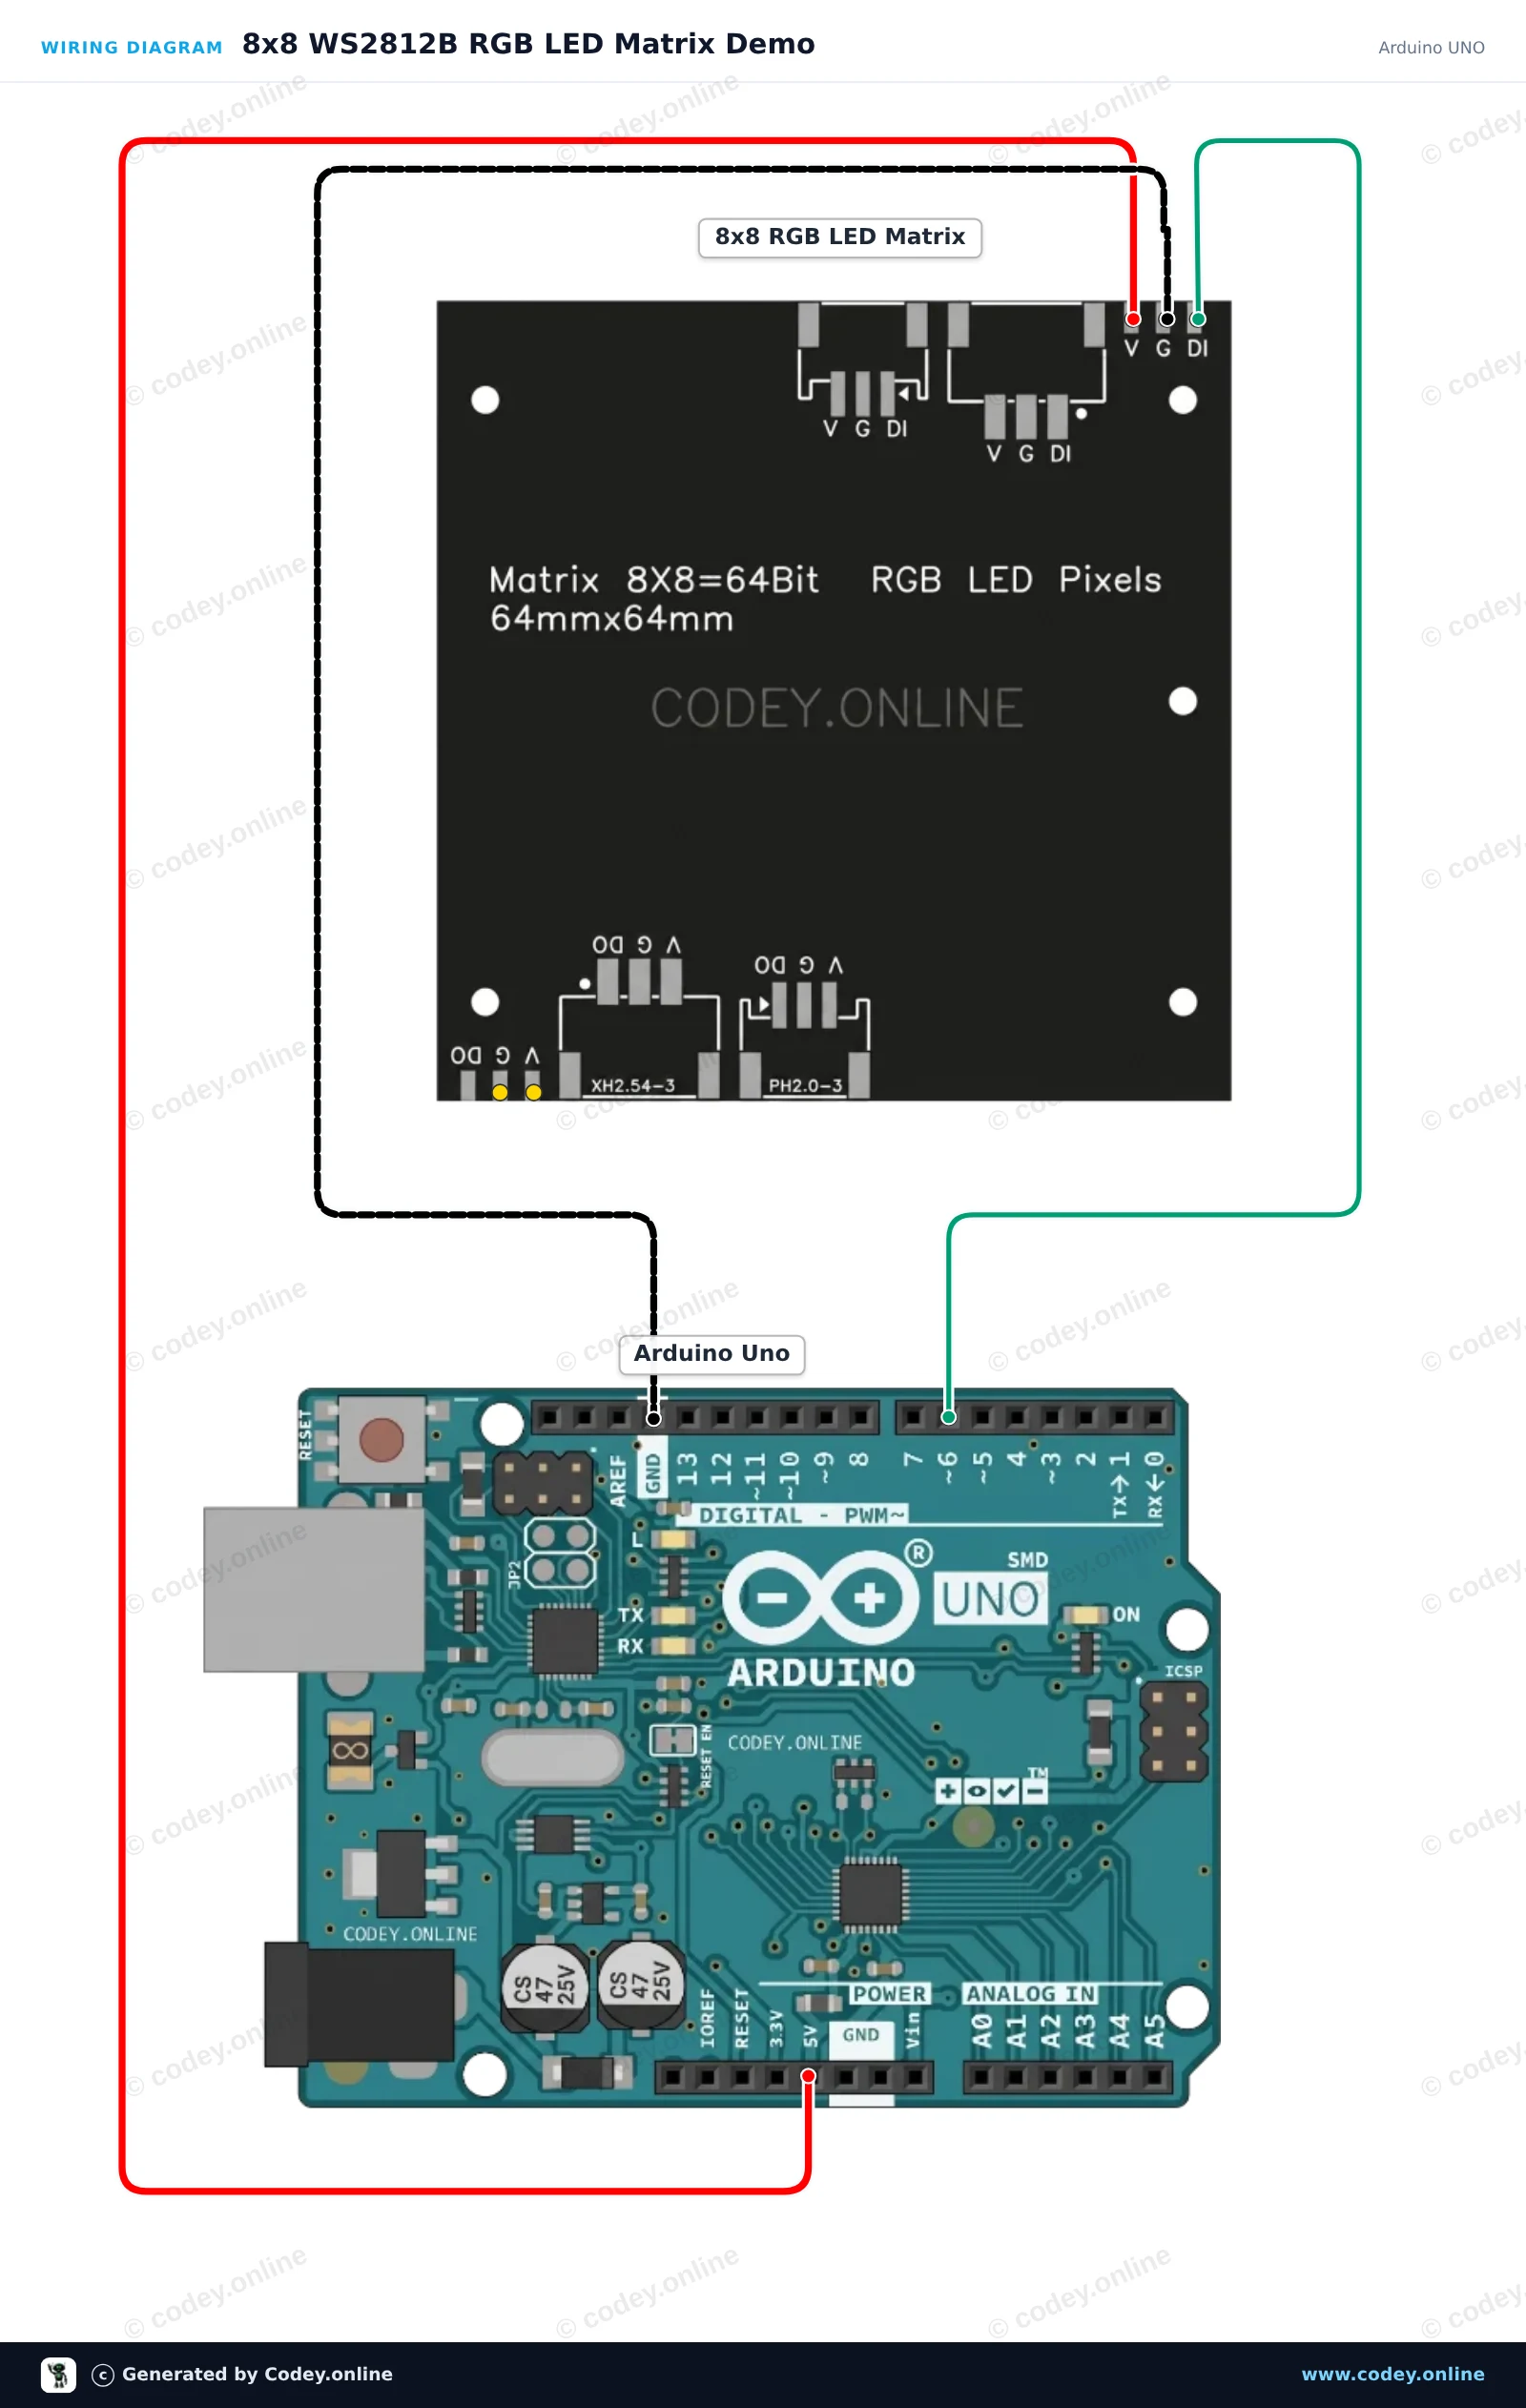
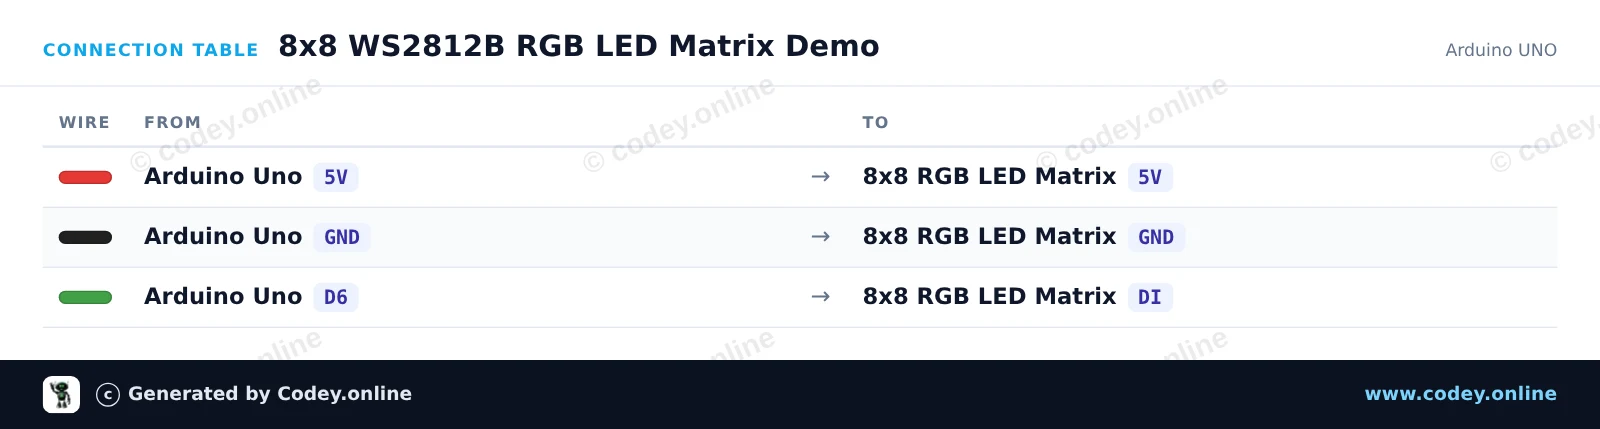
Ten projekt przedstawia adresowalną matrycę LED RGB WS2812B 8x8 podłączoną bezpośrednio do Arduino Uno. Sketch inicjalizuje 64 diody LED i wyświetla obracający się wzór kolorów na matrycy przy bezpiecznym poziomie jasności. Podłącz piny 5V, GND i DI zgodnie z pokazanym schematem, aby przetestować swoją matrycę w kilka minut.
/*
 * ==================================================================
 *  Generated by Codey.online  —  https://www.codey.online
 * ==================================================================
 *  Project   : 8x8 WS2812B RGB LED Matrix Demo
 *  Board     : Arduino UNO (arduino:avr:uno)
 *  Parts     : 8x8 RGB 64 LED Matrix 5V WS2812b
 *  Libraries : Adafruit NeoPixel 1.15.5
 *
 *  Codey Online is an AI-powered browser IDE for Arduino and ESP32.
 *  Describe your project and Codey writes the code, draws the wiring
 *  diagram and uploads it to your board, straight from the browser.
 *  This code is free to use, modify and share, without warranty.
 * ==================================================================
 */

#include <Adafruit_NeoPixel.h>

#define LED_PIN   6
#define LED_COUNT 64

Adafruit_NeoPixel matrix(LED_COUNT, LED_PIN, NEO_GRB + NEO_KHZ800);

// Converts (x, y) coordinates to pixel index (serpentine layout)
uint16_t getPixelIndex(uint8_t x, uint8_t y) {
  if (y % 2 == 0) {
    return y * 8 + x;
  } else {
    return y * 8 + (7 - x);
  }
}

void setup() {
  Serial.begin(115200);
  matrix.begin();
  matrix.setBrightness(30); // Keep brightness low when powered from Arduino 5V
  matrix.show();            // Turn off all pixels
  Serial.println(F("WS2812B 8x8 LED Matrix ready!"));
}

void loop() {
  static uint16_t hueOffset = 0;

  for (uint8_t y = 0; y < 8; y++) {
    for (uint8_t x = 0; x < 8; x++) {
      uint16_t pixelHue = hueOffset + ((x + y) * 65536L / 16);
      uint32_t color = matrix.gamma32(matrix.ColorHSV(pixelHue));
      matrix.setPixelColor(getPixelIndex(x, y), color);
    }
  }

  matrix.show();
  hueOffset += 500;
  delay(20);
}Wymagane biblioteki: Adafruit NeoPixel 1.15.5
Wiring diagram and example code generated by Codey.online — https://www.codey.online
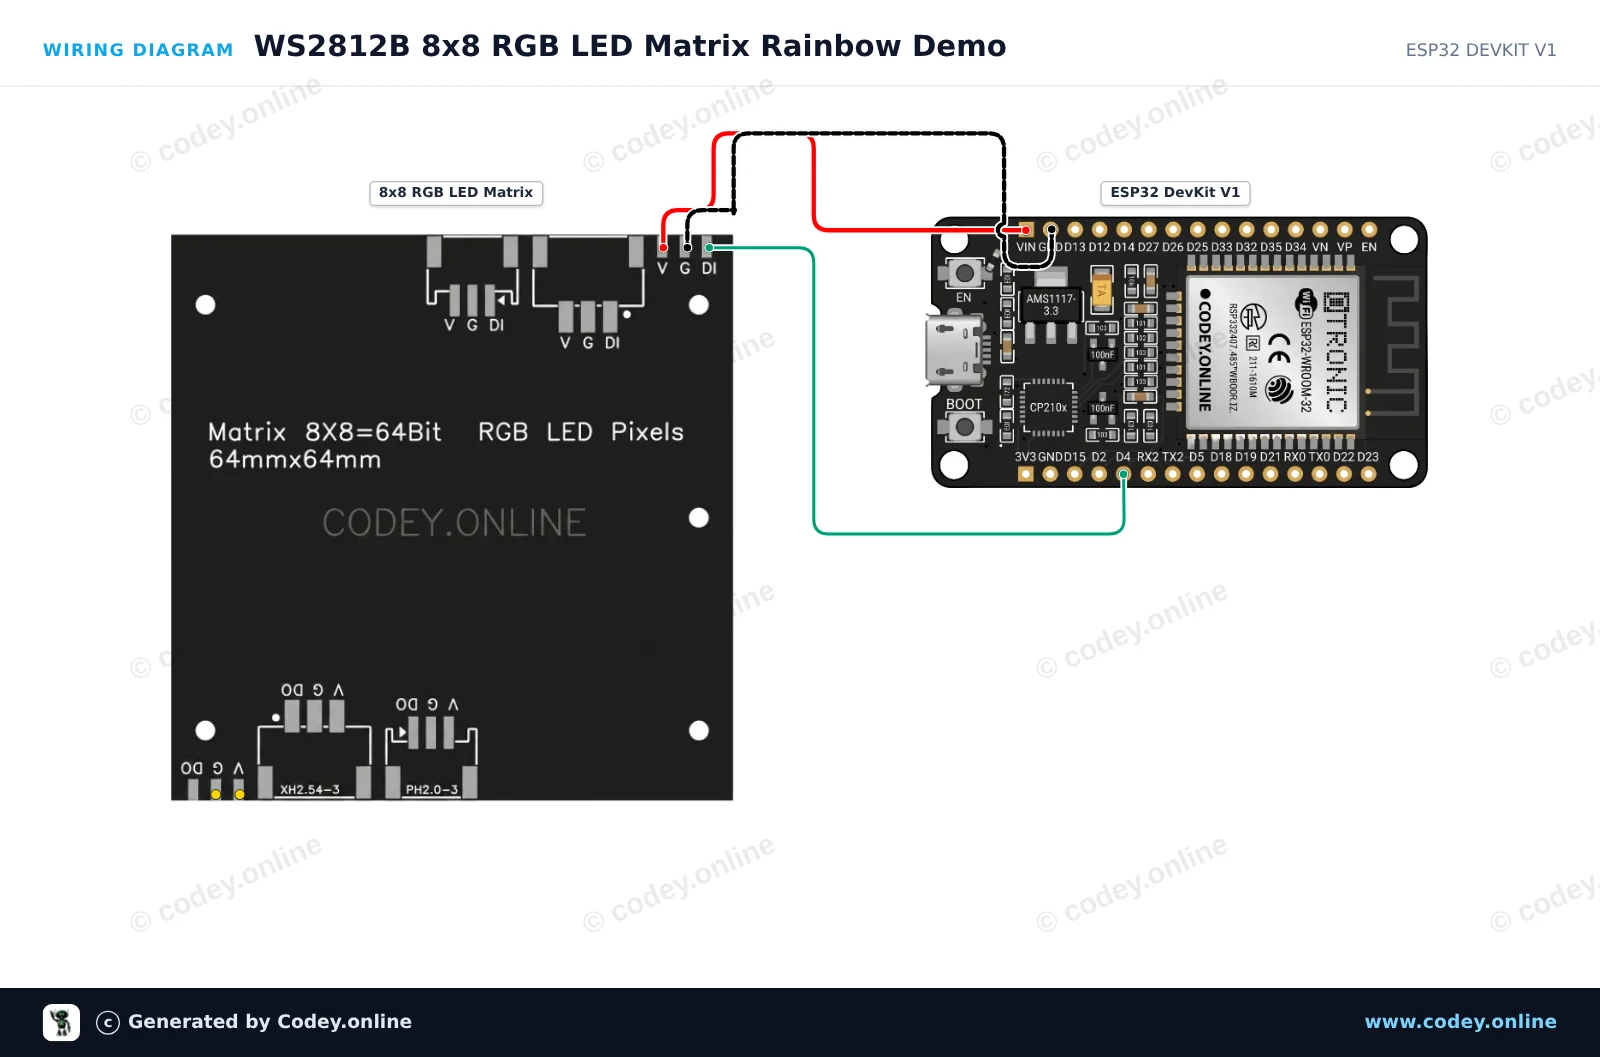
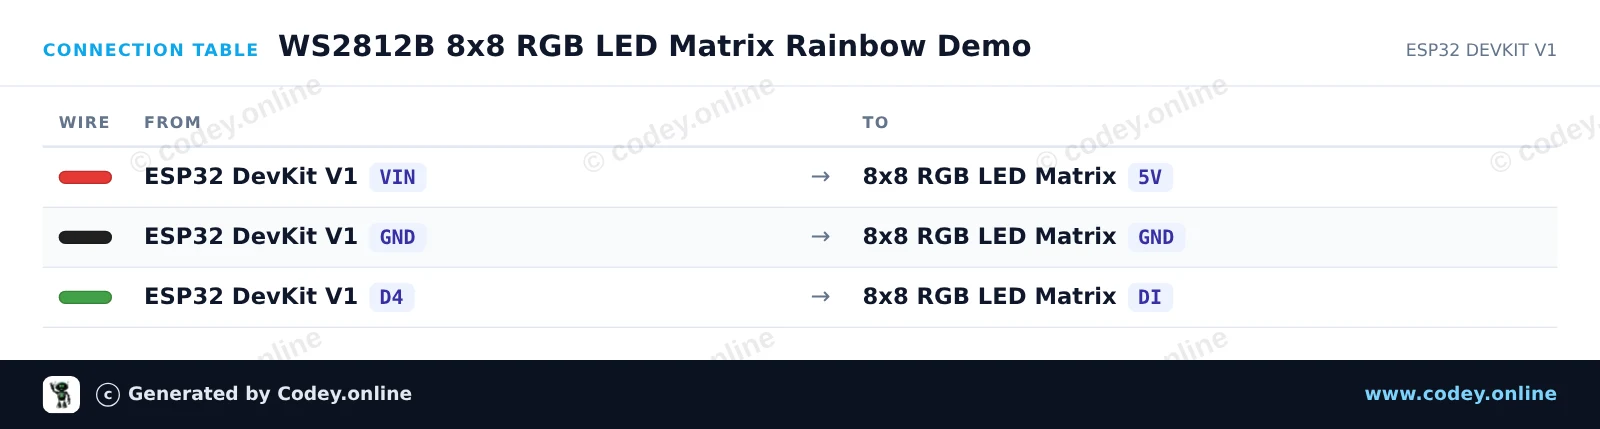
Ten projekt steruje matrycą LED RGB WS2812B 8x8 za pomocą ESP32. Wyświetla kolorowe wzory tęczy na wszystkich 64 indywidualnie adresowalnych diodach LED. Jasność ustawiono nisko, aby zapewnić bezpieczną pracę bezpośrednio z zasilania USB.
/*
 * ==================================================================
 *  Generated by Codey.online  —  https://www.codey.online
 * ==================================================================
 *  Project   : WS2812B 8x8 RGB LED Matrix Rainbow Demo
 *  Board     : ESP32 DEVKIT V1 (esp32:esp32:esp32doit-devkit-v1)
 *  Parts     : 8x8 RGB 64 LED Matrix 5V WS2812b
 *  Libraries : Adafruit NeoPixel 1.15.5
 *
 *  Codey Online is an AI-powered browser IDE for Arduino and ESP32.
 *  Describe your project and Codey writes the code, draws the wiring
 *  diagram and uploads it to your board, straight from the browser.
 *  This code is free to use, modify and share, without warranty.
 * ==================================================================
 */

#include <Adafruit_NeoPixel.h>

#define LED_PIN    4
#define LED_COUNT  64
#define BRIGHTNESS 30

Adafruit_NeoPixel matrix(LED_COUNT, LED_PIN, NEO_GRB + NEO_KHZ800);

void setup() {
  Serial.begin(115200);
  matrix.begin();
  matrix.setBrightness(BRIGHTNESS);
  matrix.show();
  Serial.println("WS2812B 8x8 Matrix Initialized");
}

void loop() {
  // Rainbow cycle across the matrix
  for (long firstPixelHue = 0; firstPixelHue < 5 * 65536; firstPixelHue += 256) {
    for (int i = 0; i < matrix.numPixels(); i++) {
      int pixelHue = firstPixelHue + (i * 65536L / matrix.numPixels());
      matrix.setPixelColor(i, matrix.gamma32(matrix.ColorHSV(pixelHue)));
    }
    matrix.show();
    delay(15);
  }
}Wymagane biblioteki: Adafruit NeoPixel 1.15.5
Wiring diagram and example code generated by Codey.online — https://www.codey.online






 English
  Nederlands
  Frans
Frans  Deutsch
  Italiano
  Español
  Suomi
Suomi  Dansk
Dansk  Ελληνικά
  Български
  Čeština
  Hrvatski
  Svenska
  Aileen